Using Computer Vision to Prepare Images for Text Extraction
Textify: Extracting Structured Text from Images
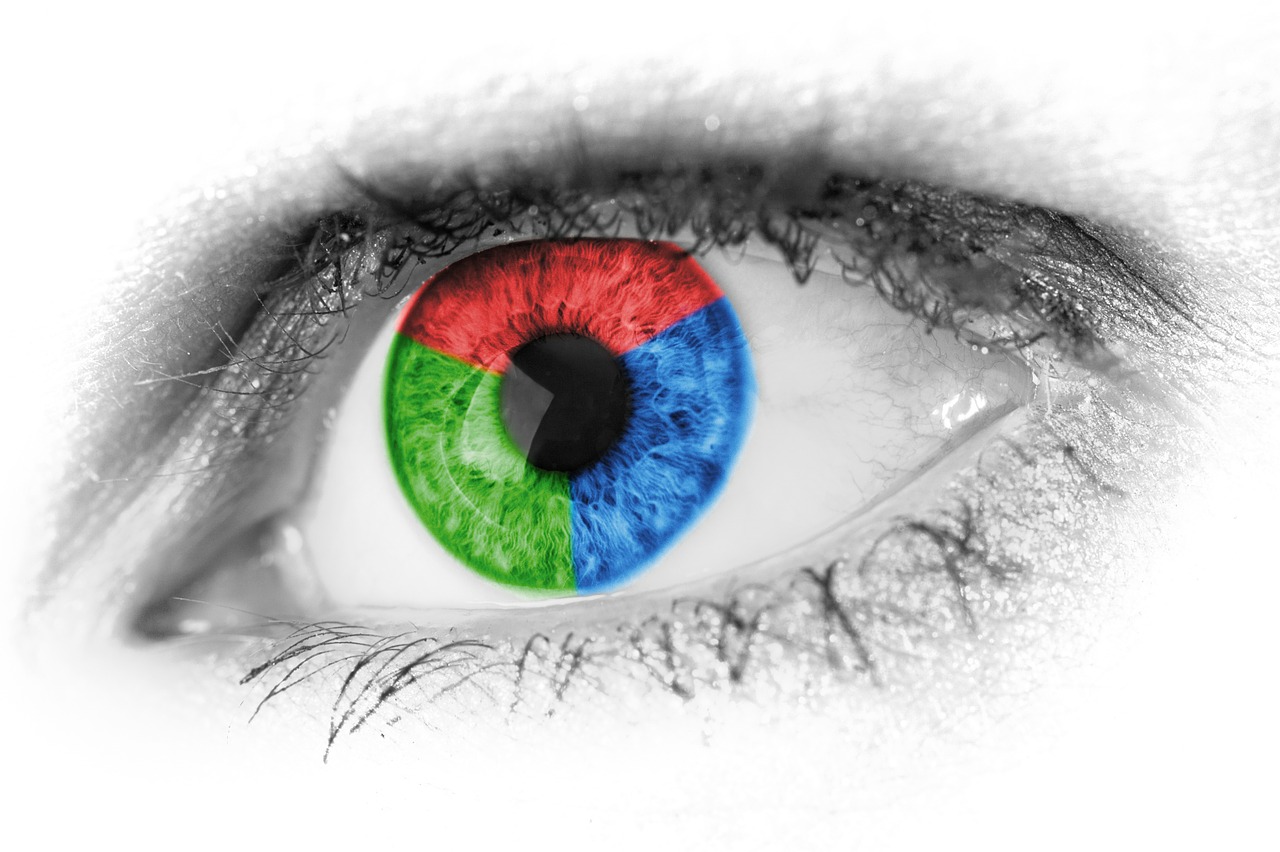
They say that a picture is worth a thousand words. That maybe true, that is if you can see.
On the other hand if your job is data entry and if you have a stack of reports full of tables and if all those tables need to be transferred to excel you might prefer the words. As crisp and electronic as possible.
We would like to show you how pictures are transformed into text that can be used for machine learning and more.
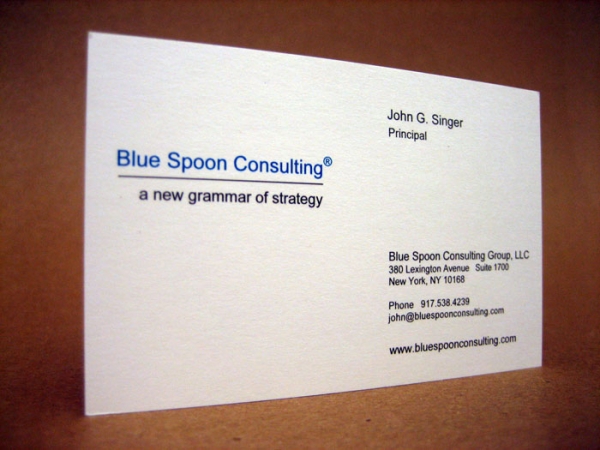
In this process the input is a picture of a document, scanned in or taken by a mobile phone. The contents can be a business card, an invoice or a financial report.
The overall process of transforming a picture to text involves two key elements:
- Computer Vision or CV
- Optical Character Recognition or OCR
We use methods developed in computer vision to prepare the picture. This includes color transformation, contrast enhancement, noise reduction, rectification and binarization.
If all goes well the output of pre-processing and also the input to optical character recognition is a cleaned up, monochrome picture where the white foreground is the text we want to extract and everything else is black background.
Such processed image is then fed into OCR. The OCR algorithm uses additional computer vision methods to segment foreground into letters and uses pattern matching to decide which letters they are.
The output of OCR is a list of rectangles and detected text. Depending on the recognition granularity the rectangle can be per letter, per word, per line or per whole page. The finer the granularity the more information about the layout is retained. If content is a table then granularity must be at level of words or letters to be able to extract columns and rows.
In the first post of this series we will tackle pre-processing of document images using Computer Vision. The OCR will be treated in the second part.
Java Setup
Two widely used libraries in computer vision and OCR are OpenCV and Tesseract. Both are reasonably mature.
Many tutorials on the subject are available in Python. Here, the programming language of choice is Java. Java is very common in business applications and integrating these libraries is not trivial.
First we need to obtain the JAR files.
For OpenCV you can follow instructions at: http://docs.opencv.org/3.1.0/d3/d52/tutorial_windows_install.html
The easiest way is to obtain pre-built binaries. The installation will probably contain C++ libraries, Python bindings and Java bindings. The files needed for Java are usually named opencv-310.jar and opencv_java310.dll if the version is 3.10.
The JAR file will need to be added to your Java project and the DLL, which is the JNI (java native interface) library, must be on the library search path.
The first thing in your code that needs to be done is to load the JNI library. The code usually looks something like the following :
Loading JNI Library
static {
    try {
        System.loadLibrary(Core.NATIVE_LIBRARY_NAME);
    } catch (IOException ex) {
        java.util.logging.Logger.getLogger(Textify.class.getName()).log(Level.SEVERE, null, ex);
    }
}
The static block of code will be executed when your class is loaded by the class loader. If it succeeds your java code will be able to call OpenCV methods. If the static block fails you will get UnsatisfiedLinkError at runtime and the application will terminate.
For Tesseract one can download a java wrapper library called Tess4J that ships with all the dependencies including dynamic libraries. In the case of Tess4J you do not have to load anything in the static block. That happens automatically in the wrapper library. The library relies on JNA, which is a an alternative technology to JNI that can load dynamic libraries without requiring any glue code (present in opencv-310.dll together will the OpenCV code). What is important for Tess4J is that all dependencies be added to your project and there are a few.
Once the libraries are added to your project and all dependencies are in place you should be ready to start using methods from both OpenCV and Tesseract.
If you plan on deploying your application in a servlet container such as Tomcat additional care must be taken. Namely Java allows loading of JNI resources only once per JVM and the class loader is remembered . In servlet containers each application is loaded using separate class loaders. If two applications try to load the same JNI library two different class loaders will attempt the load but only one will get the bindings. The solution is to host only one application per tomcat instance but that requires separate tomcat instances for each application. The second solution is to place the OpenCV and Tesseract libraries and their dependencies in the common-lib folder of Tomcat. In this way the native libraries are loaded by the main Tomcat class loader (which is above the application loaders). The drawback here is that same libraries are then used by all applications. Since Tess4J depends on several logging libraries that could be problematic.
Rectify: Using Computer Vision
We are now ready to use OpenCV methods in Java. Let us select a sample image and save it to a folder in our project named “data”.
Our first piece of code is to load the image and to convert it to grayscale. We do this so that both gray and color images are on the same level and to simplify further steps.
Loading JNI Library
import org.opencv.imgcodecs.Imgcodecs;
import org.opencv.imgproc.Imgproc;

class Textify{
    static {
        try {
            System.loadLibrary(Core.NATIVE_LIBRARY_NAME);
        } catch (IOException ex) {
            java.util.logging.Logger.getLogger(Textify.class.getName()).log(Level.SEVERE, null, ex);
        }
    }
    // main code goes here
    public static void main(String...arg) throws IOException{
        String inputFile="data/bcard.jpg";
        // load input image
        Mat in=Imgcodecs.imread(inputFile);
        // convert to grayscale
        Mat gray = new Mat(in.size(),CvType.CV_8UC1);
        if(in.channels()==3){
            Imgproc.cvtColor(in, gray, Imgproc.COLOR_RGB2GRAY);
        }else if(in.channels()==1){
            in.copyTo(gray);
        }else{
            throw new IOException("Invalid image type:"+in.type());
        }
    }
}
Our code so far calls “Imgcodecs.imread()” to load an image into a variable of type “Mat”. OpenCV variable type “Mat” represents 2D data such as images and matrices. It has a size expressed in rows and columns and it has a type that encodes data format. Common formats are single channel images, RGB images, floating point matrices and a variety of other formats that a 2D matrix can represent.
After the image is loaded we proceed to allocate an additional matrix named “gray” of the same size and in the format “CvType.CV_8UC1” which encodes single channel, 8-bit per channel, unsigned data.
If the input image has three channels we assume it is an RGB color image and we call “Imgproc.cvtColor()” to convert it to gray scale. If the number of channels is one we just copy the input image to gray variable.
At this point the resulting image looks like this:
So far we have introduced the most important OpenCV data structure the matrix “Mat” and a few important methods to work with it.
We will now take it up a notch. The image is of a business card and it was taken under an angle. As it is, the text is distorted and the OCR system will have trouble detecting text.
We need to undo the perspective distortion or as I like to call it we need to “rectify” the image.
To rectify the image we need to locate the corners of the business card and warp the pixels so that document corners end up in the corners of the resulting image.
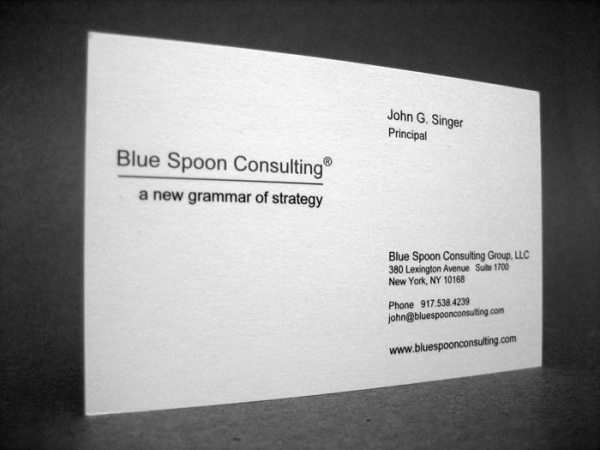
The first step is to find the contours. To that end we produce a binary image that separates the card from the background and is more suitable for contour finding algorithm.
// we first blur the gray scale image
Mat blurred = new Mat(gray.size(),gray.type());
Mat binary4c    = new Mat(gray.size(),gray.type());
Imgproc.GaussianBlur(gray,blurred,new Size(20,20),0);
// next we threshold the blurred image
float th=128;
Imgproc.threshold(blurred,binary4c,th,255,Imgproc.THRESH_BINARY);
The resulting binary image might be slightly different depending on the threshold value but looks approximately like the following:
Because we used blurring the smaller details were “white washed” but the contours are a little rounded.
The final step is to find the contours.
Mat mHierarchy = new Mat();
List<MatOfPoint> contours = new ArrayList<MatOfPoint>();
Imgproc.findContours(binary4c, contours, mHierarchy, Imgproc.RETR_LIST,Imgproc.CHAIN_APPROX_SIMPLE);
The method “Imgproc.findContours()” will return a list of contours with each contour a polygon of 2D points. Out of these contours we need to pick the one that belongs to the document.
Once the contour is located the corners need to be detected. How to accomplish that is not trivial but not too complex either. It all depends on how robust you want the method to be.
When the corner detection is done we get the following end result. The contour and the corners are highlighted in color.
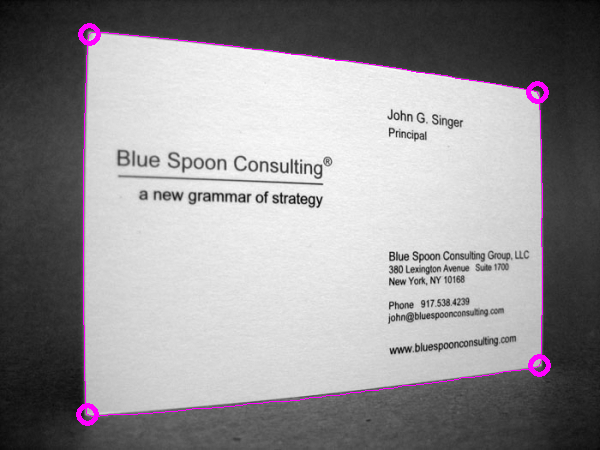
With the corners established we can now proceed to undo the projective distortion.
int dpi=300;    // select dpi, 300 is optimal for OCR
List<Point> corners=getOuterQuad(binary4c); // find corners from contour
Point inchesDim=getFormatDim();  // select business card dimensions and compute pixels
float inchesWide=inchesDim.x;
float inchesHigh=inchesDim.y;
pixelsWide=(int)(inchesWide*dpi); // width and height of business card at given dpi
pixelsHigh=(int)(inchesHigh*dpi);
// now establish from and to parameters for warpPerspective
Point[] fromPts = {corners.get(0),corners.get(1),corners.get(2),corners.get(3)};
Point[] toPts = {new Point(0,0), new Point(0,pixelsHigh), new Point(pixelsWide,pixelsHigh), new Point(pixelsWide,0)};
MatOfPoint2f srcPts = new MatOfPoint2f(); srcPts.fromArray(fromPts);
MatOfPoint2f dstPts = new MatOfPoint2f(); dstPts.fromArray(toPts);
Mat hh=Calib3d.findHomography(srcPts,dstPts);
Mat rectified=Mat.zeros(pixelsHigh,pixelsWide,gray.type());
Imgproc.warpPerspective(gray,rectified, hh,rectified.size());
// condition the output image a little
Core.normalize(rectified,rectified,0,255,Core.NORM_MINMAX,CvType.CV_8UC1);
float meanA=Core.mean(rectified).val[0];
if(meanA>128) Core.bitwise_not(rectified,rectified);
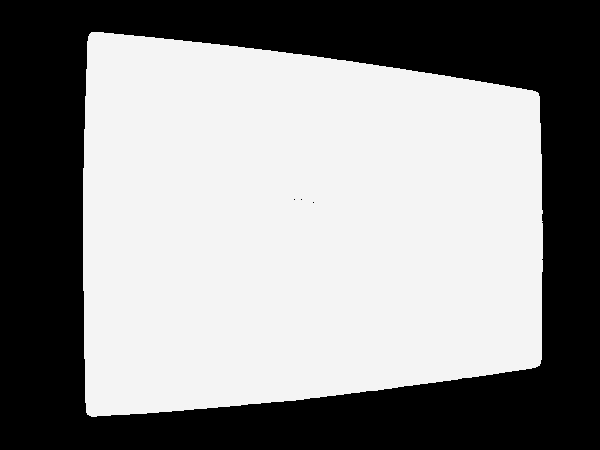
This is a lot of code but it does several things. First we make a call to a method that should return a list of corners. Next we establish desired width and height of the rectified image. We do that using known dimensions for a business card plus the desired DPI (dots per inch) resolution. For OCR systems this resolution should be somewhere around DPI=300. The step after is most crucial. Namely, we use given corners and desired corners of the card and compute a homography matrix which is then used by “Imgproc.warpPerspective” to undo the distortion. The last step is not needed but is nevertheless useful. We normalize the result so that pixels use full 255 possible values and then we measure the mean value to create a negative of the image if more pixels are white than black. We want the text in white and we expect the white pixels to be in the minority.
The final results is deposited in a new image called “rectified” and looks like the following image:
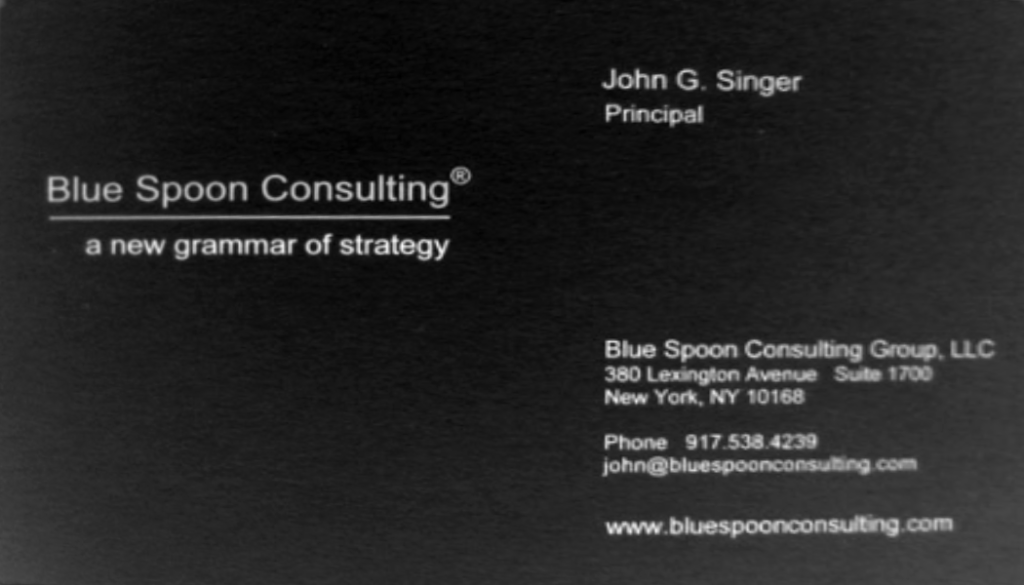
This concludes our demonstration of computer vision and OpenCV methods. We started out with an image of a business card, distorted and in an environment and ended up with a rectified image of just the business card. From here, applying optical character recognition should be much easier and more accurate.